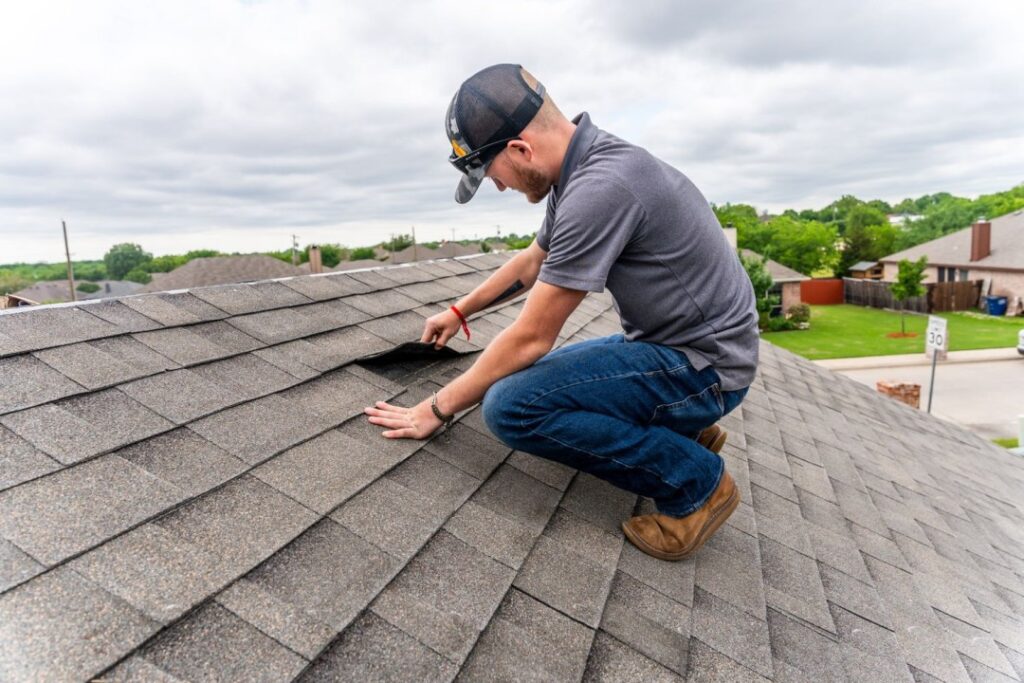
How to Spot & Fix Roof Leaks: A Realistic Guide for Homeowners
Let’s be honest—roof leaks are one of those things you don’t notice until they’ve already caused a problem. A little water stain on the ceiling? That’s probably not new. But what about when it gets bigger after a rainstorm? Yeah, that’s when it hits: you’ve got a roof leak.
I’ve been there myself—standing on a chair with a bucket, thinking, How long has this been going on? The truth is, most roof leaks are sneaky. But the good news? You don’t need to be a roofing expert to spot them or even fix some of the simpler issues. Let’s break it all down.
How to Tell If Your Roof Is Leaking
First things first, how do you even know you’ve got a problem? Sometimes it’s obvious—like water dripping into the living room (been there). Other times, it’s more subtle.
1. Stains on Your Ceiling or Walls
Water stains are usually a big clue. They’re often brownish and might look like someone spilled coffee on the ceiling. If they’re growing or darkening after a storm, the source is likely your roof.
2. Damp Smells
That musty, basement-like smell in your attic or upstairs rooms? That’s moisture hiding somewhere it shouldn’t be, and roof leaks are a common culprit.
3. Missing or Cracked Shingles
If you’re brave enough to climb a ladder (or have binoculars handy), look at your roof after a storm. Missing shingles or ones that look damaged are often where water finds its way in.
4. Puddles or Drips in the Attic
This one’s a no-brainer. If you can access your attic, take a peek during or after a rainstorm. Look for puddles, wet insulation, or streaks along beams.
What Causes Roof Leaks?
Roof leaks don’t just happen—they’ve always got a cause. Here are the usual suspects I’ve run into:
1. Clogged Gutters
Yes, your gutters are more important than you think. When they’re full of leaves and debris, water can’t flow properly. Instead, it backs up onto the roof and starts seeping into places it shouldn’t.
2. Old Flashing
Flashing is that thin metal strip around chimneys, vents, and skylights. When it gets rusty, loose, or cracked, it’s like leaving a door open for water to walk right in.
3. Ice Dams
If you’re in a cold area, ice dams are a headache. Heat escapes from your attic, melts snow on the roof, and the water refreezes near the edges. This creates a dam that traps water—and it eventually ends up under your shingles.
4. Aging Roof Materials
Roofing materials wear out—it’s just a fact of life. If your roof is 20+ years old, don’t be surprised if it starts showing signs of wear and letting water in.
How to Find the Source of a Leak
Here’s where it gets tricky. Water is sneaky—it doesn’t always drip straight down from where the leak starts. I’ve had to play detective on more than one occasion, and these are the steps that work best:
Start in the Attic
Take a flashlight up there (or your phone if you forgot the flashlight like I usually do). Look for water stains, damp insulation, or dark streaks on wood beams. If it’s daylight, see if you can spot any sunlight coming through.
Look for Problem Spots Outside
From the ground, check for missing shingles, damaged flashing, or debris piled up in valleys (where two roof slopes meet). These are all classic weak points.
Spray Test
If it’s not raining, you can try this old-school method: grab a garden hose and spray the roof while someone checks inside for drips. It’s not fancy, but it works.
Fixing the Leak
Alright, so you’ve found the source—now what? Some fixes are straightforward enough to handle yourself, while others might need a professional. Let’s start with the DIY options:
1. Replacing Missing Shingles
If a shingle is missing or damaged:
- Slide a flat bar under the surrounding shingles to loosen them.
- Remove the nails holding the damaged one.
- Slide a new shingle into place, secure it with nails, and seal the edges with roofing cement.
2. Sealing Small Cracks
For small leaks or nail holes:
- Clean the area around the crack.
- Apply roofing sealant or caulk generously.
- Smooth it out and let it cure. Done!
3. Fixing Flashing
If flashing is the issue:
- Carefully pry up the old piece.
- Apply roofing cement to the area.
- Install a new piece of flashing and seal the edges.
4. Clearing Gutters
This one’s simple but essential: grab some gloves and clear out any debris blocking your gutters. Make sure water can flow freely away from your roof.
When to Call in a Pro
Sometimes, it’s best to leave it to the experts. If the leak is causing structural damage (like sagging ceilings or beams), or you’re not comfortable climbing on your roof, it’s time to call a professional. Trust us, the cost of hiring a roofer is a lot less painful than dealing with a botched DIY job.
Preventing Leaks in the First Place
The best way to handle leaks? Stop them before they start. Here’s how:
- Inspect Your Roof Annually: Look for signs of wear, especially after storms.
- Clean Your Gutters Regularly: Make it a habit—your roof will thank you.
- Trim Overhanging Branches: Branches can scrape shingles or drop debris.
- Ventilate Your Attic: Proper ventilation prevents moisture buildup and ice dams.
- Schedule Regular Maintenance: A pro can spot issues you might miss.
Final Thoughts
Roof leaks might feel overwhelming, but they don’t have to be. By catching issues early and knowing when to fix them yourself—or call for help—you can avoid costly damage and keep your home dry.
And hey, if you ever find yourself standing on a chair with a bucket during a rainstorm? Just remember: you’re not alone. We’ve all been there. But now, you’ve got the knowledge to handle it like a pro.


